In this short series of posts I will show you how to enable the “Google Analytics” statistics on your blog. I am writing about the “WordPress” blog but this could be easilly adopted for any other blog platform and static websites that you have. The “Google Analytics“ is a platform that gives a very detailed insight in the statistics of the traffic on a website. It is usefull to have more knowledge about your users, their preferences and which content of your blog is the most popular. After all you probably write a blog for someone to read and maybe you should consider writing more posts about what your readers are looking for when comming to your site.
In this post I’ll focus on the first step that is needed: Registration to the “Google Analytics“.
Step 1: Register
For the “Google Analytics” the registration process is actually very simple and it is summarized on this graphic below:
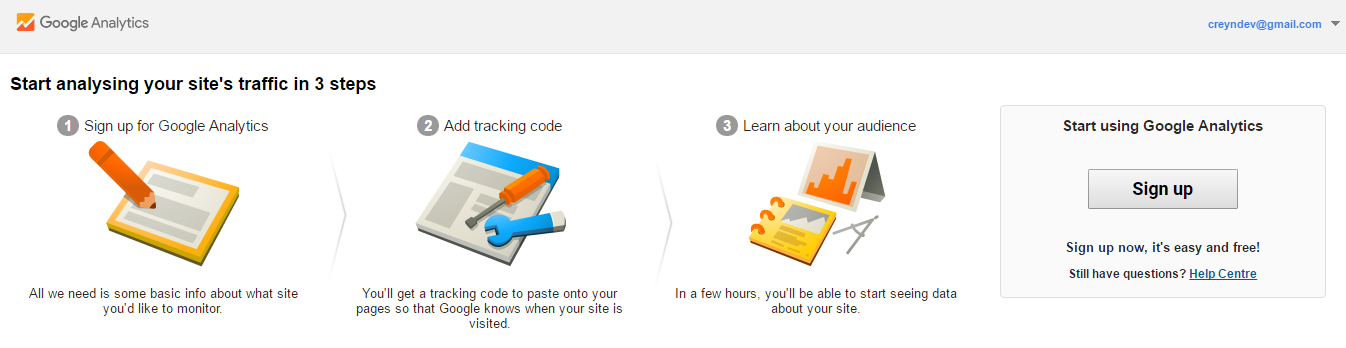
First you will need a “Google” account. I assume you have one already or know how to register for a new one. Then you need to go to the page: https://www.google.com/analytics/ and login using that account. When logged in you need to go trought a very simple wizard process that helps you create and configure the account.
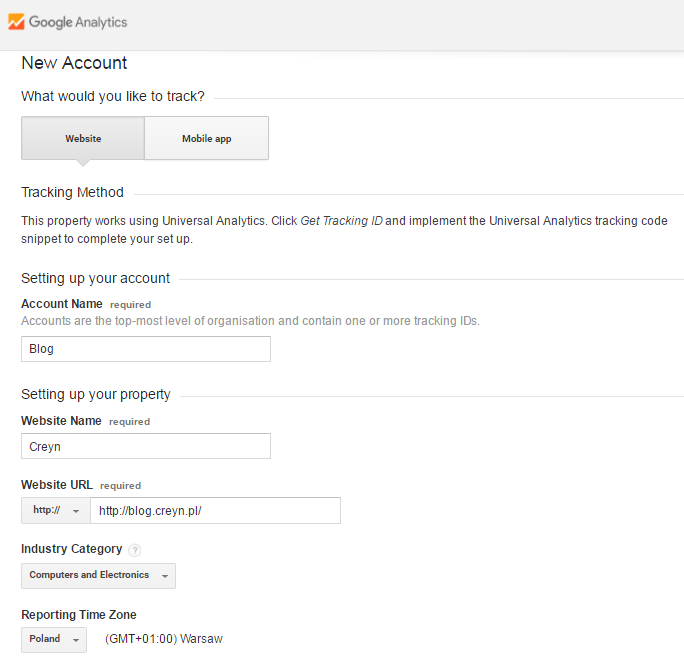
First step is choosing if the setup will be for a Mobile App or a Website. In case of a blog let’s choose the “Website” option. Then you have to set an “Account Name” and “Website Name“. Those are for you to differentiate with some other analytics that you might want to have (for example a second blog or some static websites). The “Website URL” is the URL of your blog. You can copy paste the URL from your blog homepage address (like I did here). The “Industry Category” section will help Google to prepare some basic raports for you. The last thing is to choose the “Reporting Zone Time“. You can choose you country and all reports will be properly recalculated to your timezone.
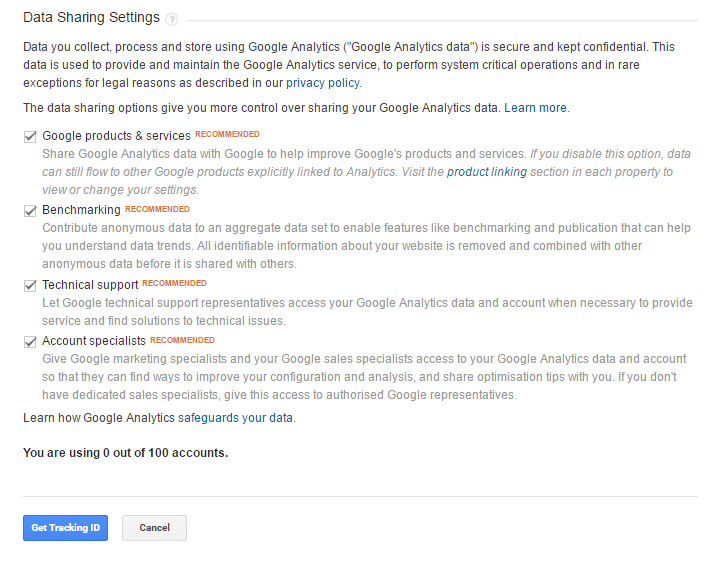
Next thing is to allow Google to gather and share some statistics to help them to imrove their service. I allowed for all of them. And after clicking “Get Tracking ID” and accepting some “Terms of Service Agreement” you will be send to a new website and the “Tracking ID” will be generated for you.
The “Tracking ID” is very important. This is an identificator that allows Google to track users on your website. Below the “Tracking ID” is a section with the JavaScript code. You can just copy paste it on the web page that you want to have tracking enabled. In my case, I want to put it on every page on my blog.

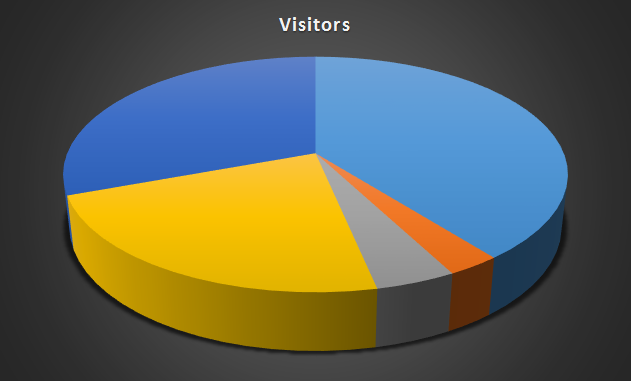
How to do it I will show you in the next post. For now you could play around with the nice “Google Analytics” website. They have many video tutorials and informations about each report. Even a quick look at the available options will give you the idea of the things you can learn about your visitors. And there are a lot of them.
C.
Like this:
Like Loading...


Leave a Reply