This is the second post from the series about adding the “Google Analytics” to the “WordPress” blog. In the first post (http://blog.creyn.pl/2016/06/07/how-to-add-google-analytics-to-wordpress-blog-part-1-registration/) we have registered to the “Google Analytics” service and acquired a new “Tracking ID” for our blog. Now we have to configure our blog to include that “Tracking ID” on every page that we want to have analytics on. This actually means that we will add it to all of our pages and posts.
So let’s go to the second step: Configure blog with the Tracking ID.
Step 2: Configure blog
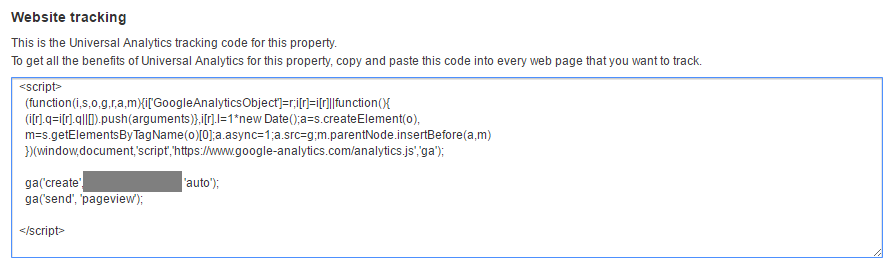
In the first step, on the “Google Analytics” website (https://analytics.google.com/analytics/web/#management/Settings > “Tracking Info” > “Tracking Code”), right next to the “Tracking ID” we’ve found a “Tracking Script” that could be used to configure our blog.
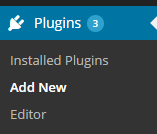
My blog is a so called “self hosted” version. This is an installation on a hosting platform that I paid for and have more controll over my blog. There are many ways to put the tracking code on every webpage. There are many plugins to do it. I decided to try a simple one that inserts snippets of source code in the header and the footer on each webpage. As I didn’t have it before, I had to install it from the “WordPress” plugins repository. If you want to follow, please go to the “Plugins > Add New” section and look for the “Header and Footer” plugin. The search engine should return many similar plugins but this is the most popular one and has the 5 star score. After installing it, we can find it in the “Settings > Header and Footer” section.


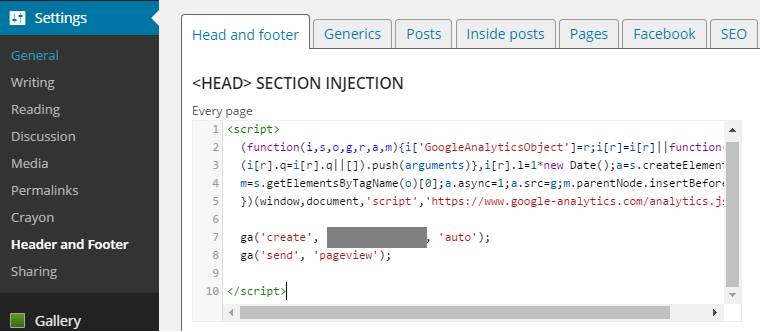
From the screenshoot below you can see that it is very customizable and has many options for inserting snippets of code on dfferent pages. I’ve choosen the “<HEAD> Section Injection” which inserts code on “Every” page of my blog. Here you have to paste the auto generated “Tracking Script” from the “Google Analytics” website.
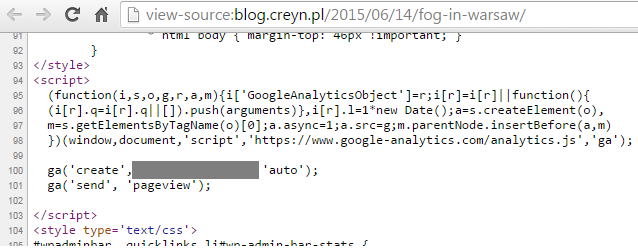
After this is done we could check if the setup is correct. First go to one of your blog posts and then open the “View page source” from the browser (you can press Ctrl+U on the keyboard, it should work in most browsers). You can now see that the script was succesfully inserted on my “Fog in Warsaw” blog post.
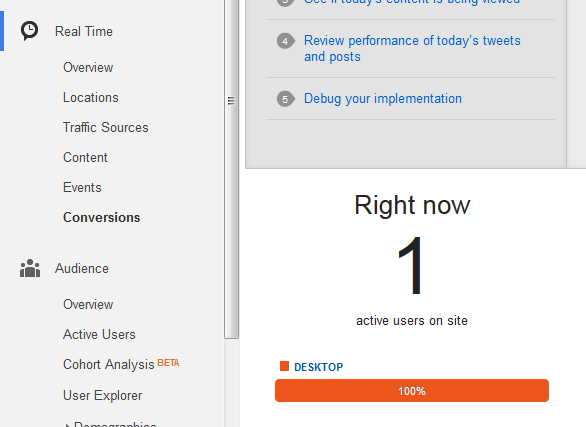
On the “Google Analytics” reporting page (here: https://analytics.google.com/analytics/web) we can also see that the script is working and the statistics are send to Google. Please go to the “Reporting > Real Time > Conversions“. In my case there is already one visitor showing in this report.
The reports in other reporting sections are shown with some delay and can not be shown from the very beginning. But it will be there tomorrow. Now we could start promote our blog posts and see which one is the most popular.
To sum up, I already had the “Jetpack” plugin statistics for my “WordPress” blog but I have the feeling that they are very simple and I hope that the “Google Analytics” will give me much more insight into my visitors preferences. We’ll see. And as it turned out, adding GA to my blog was very easy.
C.
Like this:
Like Loading...


Leave a Reply